
My blog has received more traffic in the last month with views on my DIY tutorial, the Brick and Mortar Wash technique. Why would this be? I would like to think that I inspired Chip and Joanna Gaines, like we are the dearest of friends or something. I’m sure I’m not the only American out there that has similar thoughts. :>) I believe it was their first episode of season 3 Fixer Upper, where they applied a similar look on the exterior of the home. Also, my husband and I stalk their Instagram pictures and noticed that their show room of her new furniture line has the same old world brick. ” German Smear” is what they call it. I was so proud… because in my mind…I envisioned that she saw my little blog, watched my tutorial and said, “CHIP!! Look at this! We should do this in the next Fixer Upper and let’s do this in our show room and in the our next season premier!” And that for once, I was her inspiration instead of the other way around. Of course, I know that I’m not the ONLY one that has ever done this. I’ve seen it in other places so that is how I got inspired. But a wife/mother of three can day dream, right? To be the inspiration to Joanna Gaines??
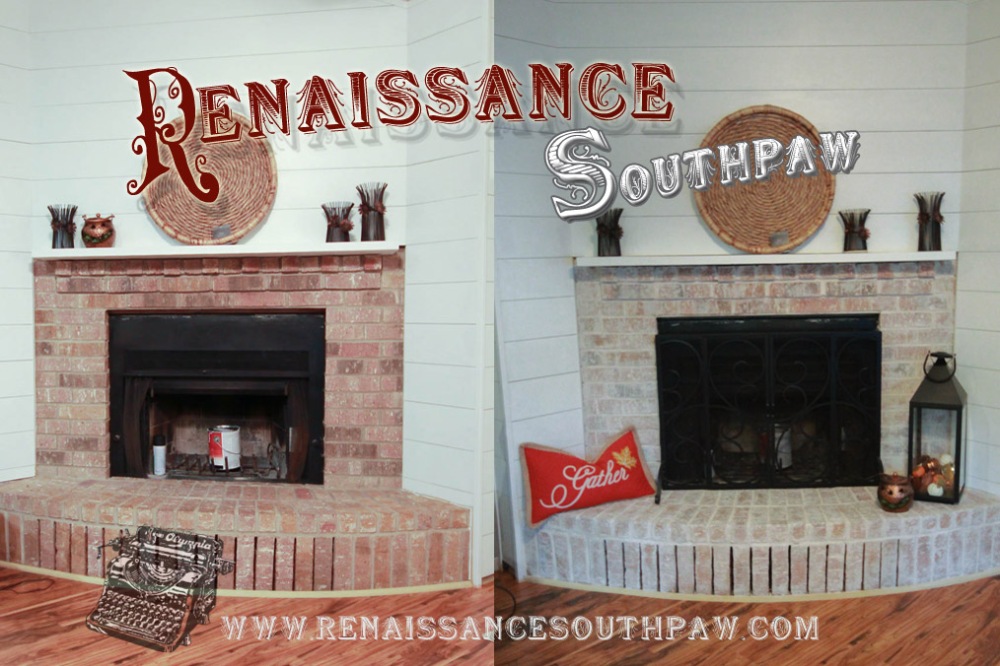
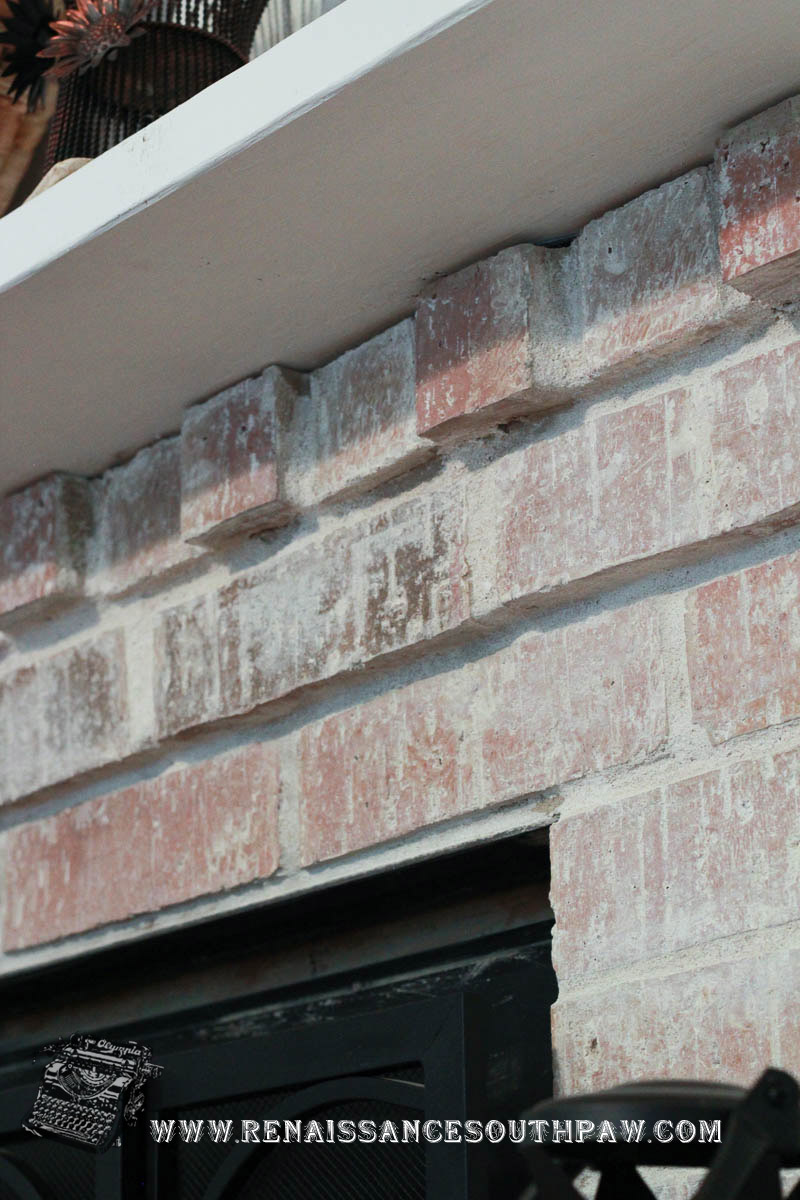
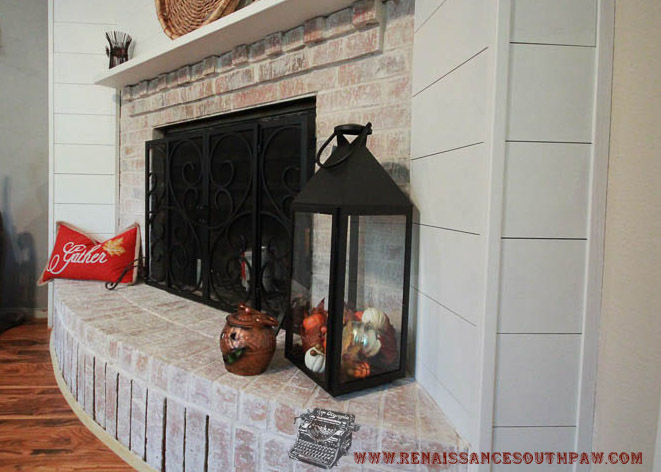
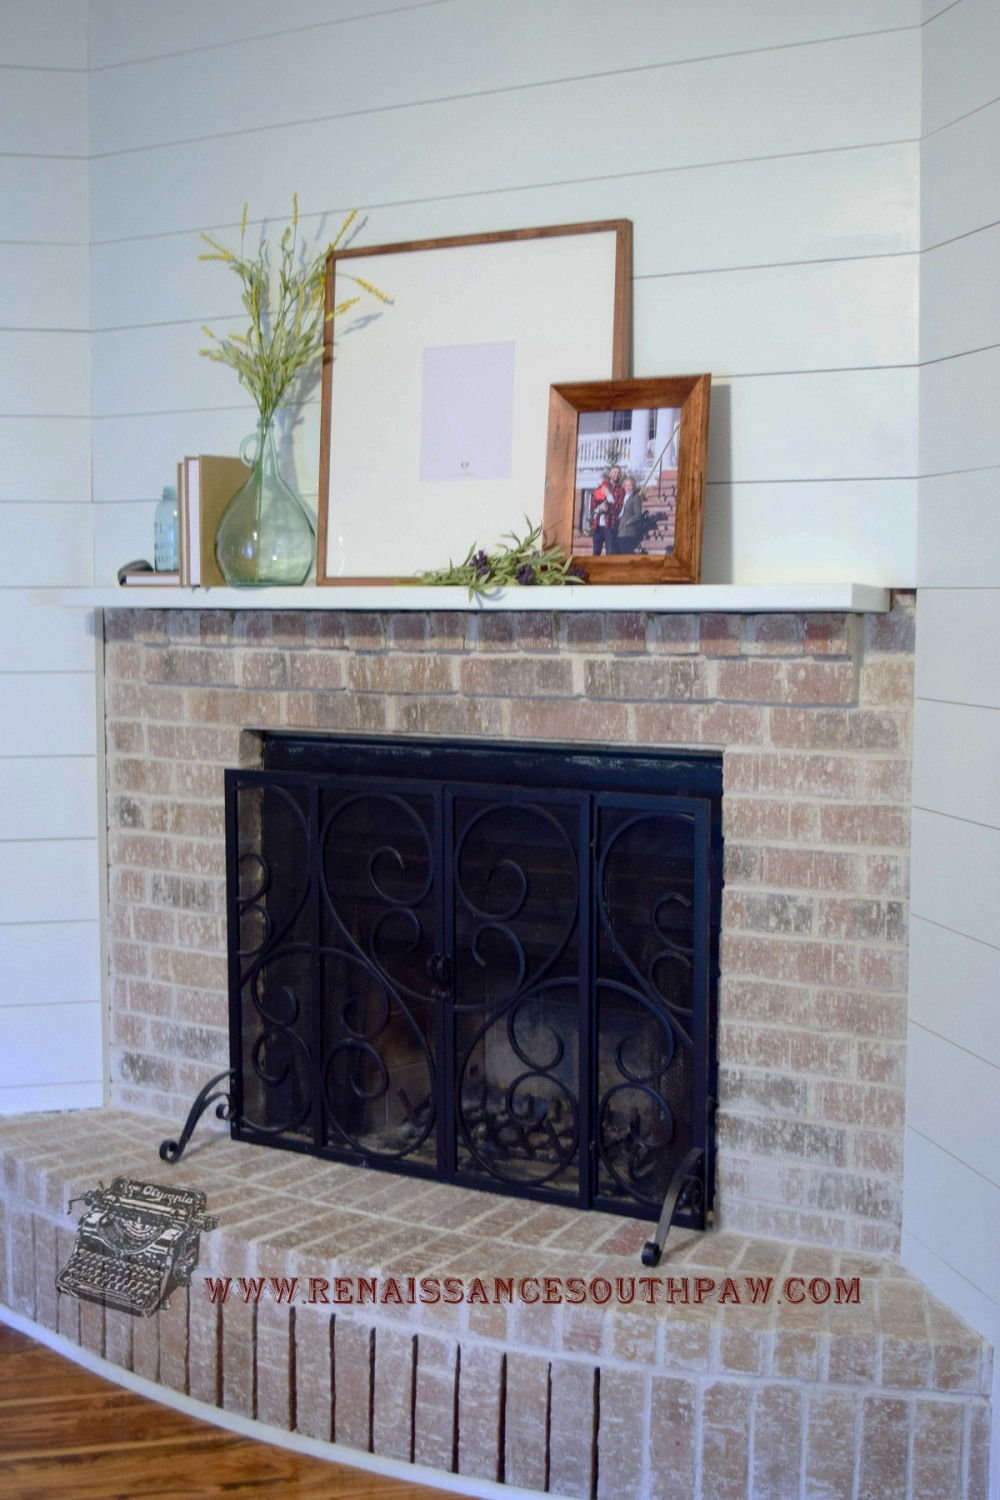
I mentioned awhile back, before we got kicked in the gut over the house flood fiasco, that I had Brick Mortar Washed my sister’s fireplace. She didn’t like the dull color of her fireplace and wanted to have it compliment the new ship-lap siding that her husband installed around their fireplace. However, she wanted the mortar wash application to be lighter and not as sloppy or as thick. What she really wanted was to change the grout color of her brick. With this technique you can do that! You just have to be more meticulous in your application and wipe off the excess of mix that falls onto the brick.
Due to curiosity of some of my recent readers I am posting some of my sister’s fireplace before and after.
Enjoy!
cr")
cr")
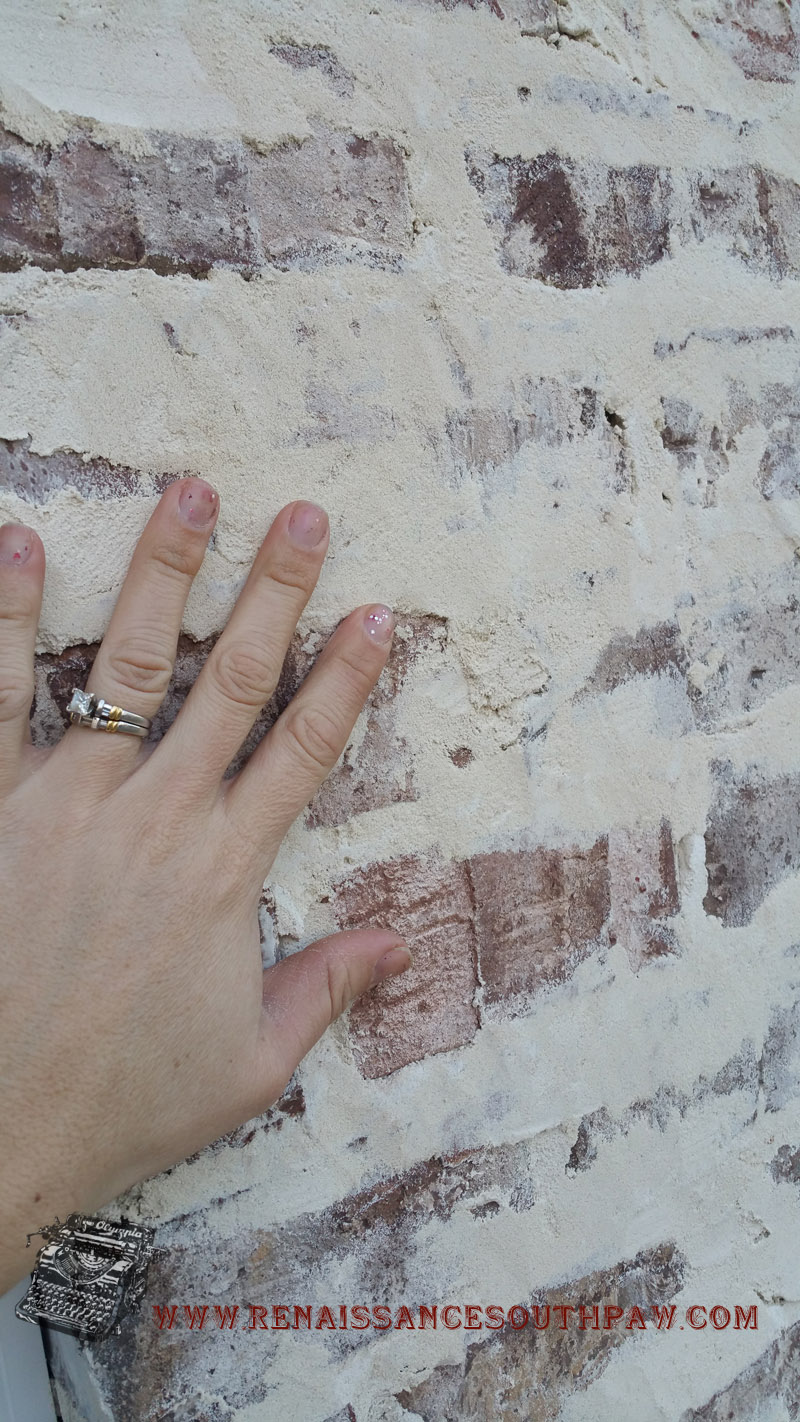
Below is another example of mortar wash. Currently, there is a sweet, lake home being built behind our house. We have watched the progress from afar until the other day we spotted a man applying a similar brick mortar wash to the exterior of the home. Once again, I entered into my dream state of thinking “OH LOOK! They read my little blog and saw my DIY tutorial and decided THIS was the look they wished to make into their dream home.” Ok, then I SNAPPED out of it and couldn’t wait until all of the workers were gone to see how he did it. Looks pretty much the same as my fireplace. I really LOVE this look.


Hello
I am planning to do this to our fireplace this weekend and I read your initial post of your fireplace that has much thicker wash than this one, my question is are there any tips you have to create this look instead of the really thick look? What is the easiest was to get it inside the grout lines? I am very nervous as our fireplace is so big and I really do not want to mess this up so any information about how you achieved your sisters look would be greatly appreciated, Thank you!!
LikeLike
Thanks for your comment and question. The best way I can explain to achieve a lighter mortar and keep within the grout lines is to focus on the grout lines. You may get it on the brick and if you do, make sure you have a wet rag or burlap to remove the excess immediately. It doesn’t take long for the white mortar to begin lightening the color of brick. If you are wanting to lighten the brick, make sure you apply thinly, let it set approximately 10-15 min before removing. Work in small sections as to not get too far ahead of yourself before moving on. I’d work in a smaller less noticeable area and see what the wait time might need to be and to get the technique down before hitting it hard 😊 Good luck! I know it’s scary but so rewarding!
LikeLike